I will be demonstrating at the Craft Barn on Saturday 30th June and Sunday 1st July.
Do come along and say hello if you are in the area.
You will also be able to see my new Helidot Papers!!
Also Jon and Charry will be at the Bracknell Sincerely Yours show on Sunday 1st July.... a busy weekend!

Sunday, 17 June 2012
Our Latest News
First of all a great big sorry we haven`t blogged for so long, but we took a well earned rest and spent a holiday in Menorca.........and very hot, unlike England!!!


Peel off all the above shapes onto grey card and cut out, except for the inner ears (small heart) onto pink card.
The large heart and small heart have to be cut in half vertically. Then glue half small heart to half large heart and glue to each side of the head.
Glue the head to the top of the body at an angle. Glue the tail at the back of the body between the legs.
Finally glue the trunk to the pointed end of the head. Add two dots for eyes and a small bow around the trunk.
That`s all for now....
Bee Happy!!
We have now printed all the papers but have not yet been able to put them into the online shop yet, hopefully next week, the colours are lovely and the four designs are very small and dainty, I'm really pleased with
them, so I hope you will like them.
We have just come back from a successful show in Taunton with Sincerely Yours and just before our holiday we did a show at Biggin Hill.
Here are some pictures taken without us knowing by Jackie at Biggin Hill.


Thanks Jackie and a huge thank you to Charry for all her hard work on the day .....
and this is a photo of Charry and myself enjoying a well earned meal and drinks after
the show to celebrate Charry's special birthday. We had a lovely evening with live
music, we did let Jon come with us as he had worked hard all day, and he paid!!!!!!

Here is another little card I have designed from the Fairy and Friends set, it is so easy to
make but here are the instructions.......


Peel off all the above shapes onto grey card and cut out, except for the inner ears (small heart) onto pink card.
The large heart and small heart have to be cut in half vertically. Then glue half small heart to half large heart and glue to each side of the head.
Glue the head to the top of the body at an angle. Glue the tail at the back of the body between the legs.
Finally glue the trunk to the pointed end of the head. Add two dots for eyes and a small bow around the trunk.
That`s all for now....
Bee Happy!!
Saturday, 5 May 2012
Make and Takes at the Craft Barn
Hi Everyone, just home from the Craft Barn after a day of make and takes, it was great to share and explain how to use the Helidot peel offs. I met a lot of new ladies today and the feedback was grea,t they all loved what they made and they did really well. Thanks everyone for making my day so enjoyable.
Here are the cards we made from the Bee set......


And these two below were made from the Fairies and Friends set......


Busy day tomorrow with my Grandaughter`s 7th birthday and she has asked me to do a craft party.
I will share the cards they make and pictures of the kids if their parents allow.
**** New Helidot designed Papers are on the way, they include 4 different designs in 10 colourways and will be available to buy on the web site very soon (hopefully in the next 2 weeks) Look out for them, I am really pleased with them.
**** See you at Sincerely Yours Biggin Hill on Sunday 20th May.......come and see my new Papers!!!
Bee Happy
x
Here are the cards we made from the Bee set......

And these two below were made from the Fairies and Friends set......


Busy day tomorrow with my Grandaughter`s 7th birthday and she has asked me to do a craft party.
I will share the cards they make and pictures of the kids if their parents allow.
**** New Helidot designed Papers are on the way, they include 4 different designs in 10 colourways and will be available to buy on the web site very soon (hopefully in the next 2 weeks) Look out for them, I am really pleased with them.
**** See you at Sincerely Yours Biggin Hill on Sunday 20th May.......come and see my new Papers!!!
Bee Happy
x
Sunday, 8 April 2012
Craft Barn
I demonstrated my new Fairies and Friends set at the Craft Barn yesterday.
A good day meeting lots of new people and looking forward to seeing them again on May 5th for a day of make and takes using Helidot products.
If anyone is interested in joining us for the make and takes please phone the Craft Barn to make a booking.
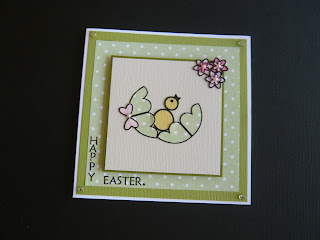
I had some really great feedback which is encouraging and most people loved the new set as it is so versatile and here are a couple more examples.


The shapes I have used for Teddy are from Fairies and Friends and are illustrated in the booklet.
The only difference is that I have used yellow for shape BG and used the black lines to represent a Bee body.
The wings are shape AQ (heart) put onto white card, cut in half and stuck to the back of the body


The Flower pot is made from shape A with the pointed top cut off and the tag is made from shape B also with the pointed top cut off.
Black lines are added to cover the bottom of the pot and top of the tag.
The butterflies wings are made from shape AR . Peel off and cut out three of these shapes, glue two together point to point and cut the third one in half longways and glue at the bottom of each wing.
The body is shape L glued on top of the wings, finally the antennae is the waste from AU and AV.
The Flowers are shape BB and BC and the centres are AC and AD.Draw face on with fine tip markers.
More ideas soon!!!
Bee Happy
x
A good day meeting lots of new people and looking forward to seeing them again on May 5th for a day of make and takes using Helidot products.
If anyone is interested in joining us for the make and takes please phone the Craft Barn to make a booking.
I had some really great feedback which is encouraging and most people loved the new set as it is so versatile and here are a couple more examples.


The shapes I have used for Teddy are from Fairies and Friends and are illustrated in the booklet.
The only difference is that I have used yellow for shape BG and used the black lines to represent a Bee body.
The wings are shape AQ (heart) put onto white card, cut in half and stuck to the back of the body


The Flower pot is made from shape A with the pointed top cut off and the tag is made from shape B also with the pointed top cut off.
Black lines are added to cover the bottom of the pot and top of the tag.
The butterflies wings are made from shape AR . Peel off and cut out three of these shapes, glue two together point to point and cut the third one in half longways and glue at the bottom of each wing.
The body is shape L glued on top of the wings, finally the antennae is the waste from AU and AV.
The Flowers are shape BB and BC and the centres are AC and AD.Draw face on with fine tip markers.
More ideas soon!!!
Bee Happy
x
Monday, 26 March 2012
New ideas from Debbie and Wendy
I asked Debbie and Wendy if they would like to make some samples for me, I had no idea they would make so many..... wow!! They were brilliant and illustrate how versatile the Peel offs are, just use your imagination and your own style.Thank you both so much for all your hard work!!
And they said they would make some more, so I will share their ideas later with you . Here are their lovely designs made from a combination of the Bee set and Fairies and Friends set....
The first 4 are Debbies....


The next are made by Wendy.....


We will be at the Sincerely Yours show at Thetford on 1st April, hope to see you then,,,,!
Bee Happy
x
Monday at Japonica
What a lovely sunny day it was for Japonica's day down in Devon. Met some lovely ladies... here are some of them showing their cards that they made from the Faries & Friends set with me.


They were a really friendly bunch and thanks for a lovely day.
And it was good to meet Janet and to see Francoise Read.
Love
Helen
x


They were a really friendly bunch and thanks for a lovely day.
And it was good to meet Janet and to see Francoise Read.
Love
Helen
x
Friday, 9 March 2012
Busy weekend at Leigh
We had a busy weekend at Leigh and it was great to see so many new customers!!
In fact Vicky came back on the Sunday to show us the card she had made on Saturday evening using the Bee Peel off set.
As you can see it is a lovely card, well done Vicky.......its always good to get feedback from our customers.

Next stop Thetford on 1st April, do come and say hello if you are in the area.
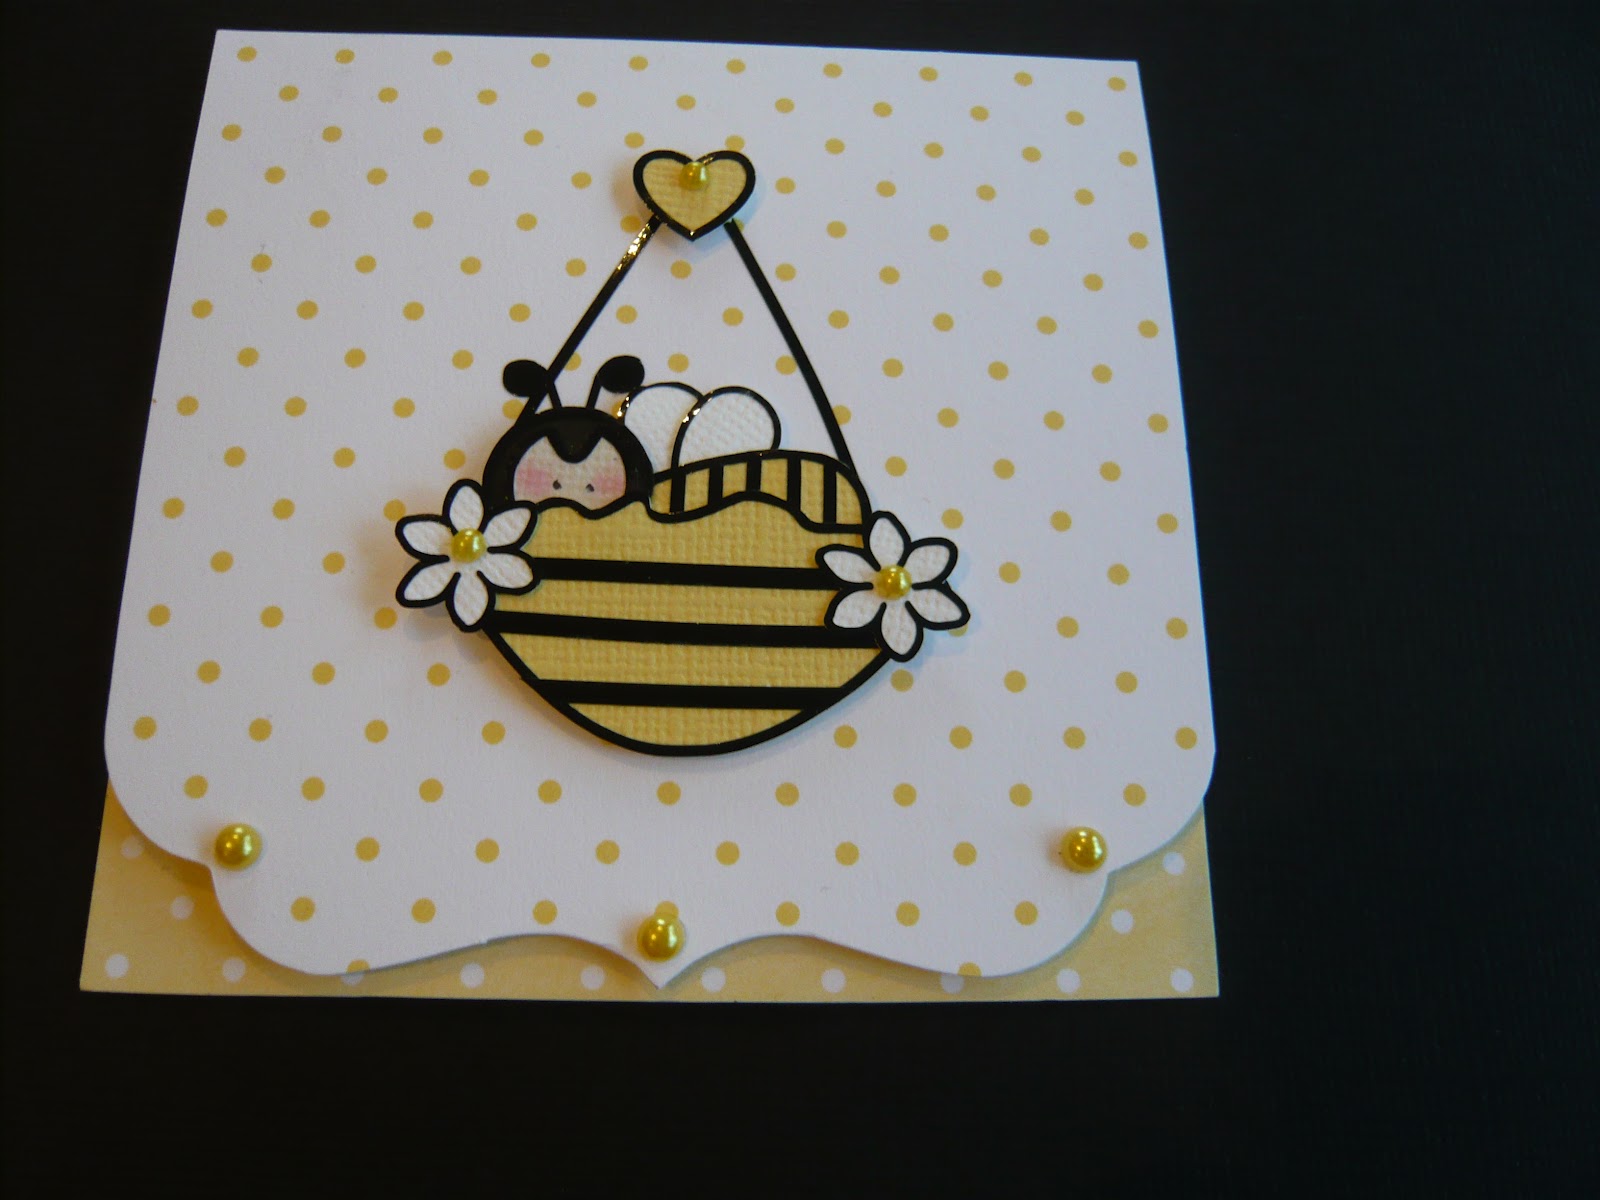
As promised here are some more card design ideas using the Bee set

The small flowers are available by the metre from the Craft Barn, Lingfield
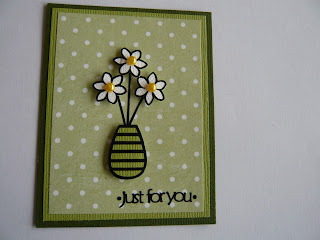
Hopefully you can see the shapes I have used to create these designs.
The vase is the large Bees body with the top cut off.
Here is another idea, this time using the "waste" from the flowers in the Bee set, code U and the lines from sheet no. 1103. Also the "waste" from the letters, sheet no. 1104. I have just added pearls to the centre of the flowers. Just use your imagination to make lots of different words, for example you can make a very quick thank you card just using the word Thanks.

The next card is made using the new Bee stamp set.
This time I have stamped out the shapes and used them on the reverse to create a softer effect, this looks really nice if you use some glitter glue.

The Flower is made using heart shapes, code Z, so is the leaf and the lady bugs are made using the small oval, code M. I have used black pearls for the lady bugs heads and centre of the flower.
The edges of the card are chalked and red pearls for the corners.
More ideas to follow.....
Bee Happy!!
Helen
x
In fact Vicky came back on the Sunday to show us the card she had made on Saturday evening using the Bee Peel off set.
As you can see it is a lovely card, well done Vicky.......its always good to get feedback from our customers.

Next stop Thetford on 1st April, do come and say hello if you are in the area.
As promised here are some more card design ideas using the Bee set

The small flowers are available by the metre from the Craft Barn, Lingfield

Hopefully you can see the shapes I have used to create these designs.
The vase is the large Bees body with the top cut off.
Here is another idea, this time using the "waste" from the flowers in the Bee set, code U and the lines from sheet no. 1103. Also the "waste" from the letters, sheet no. 1104. I have just added pearls to the centre of the flowers. Just use your imagination to make lots of different words, for example you can make a very quick thank you card just using the word Thanks.

The next card is made using the new Bee stamp set.
This time I have stamped out the shapes and used them on the reverse to create a softer effect, this looks really nice if you use some glitter glue.

The Flower is made using heart shapes, code Z, so is the leaf and the lady bugs are made using the small oval, code M. I have used black pearls for the lady bugs heads and centre of the flower.
The edges of the card are chalked and red pearls for the corners.
More ideas to follow.....
Bee Happy!!
Helen
x
Subscribe to:
Posts (Atom)