Tuesday, 22 March 2016
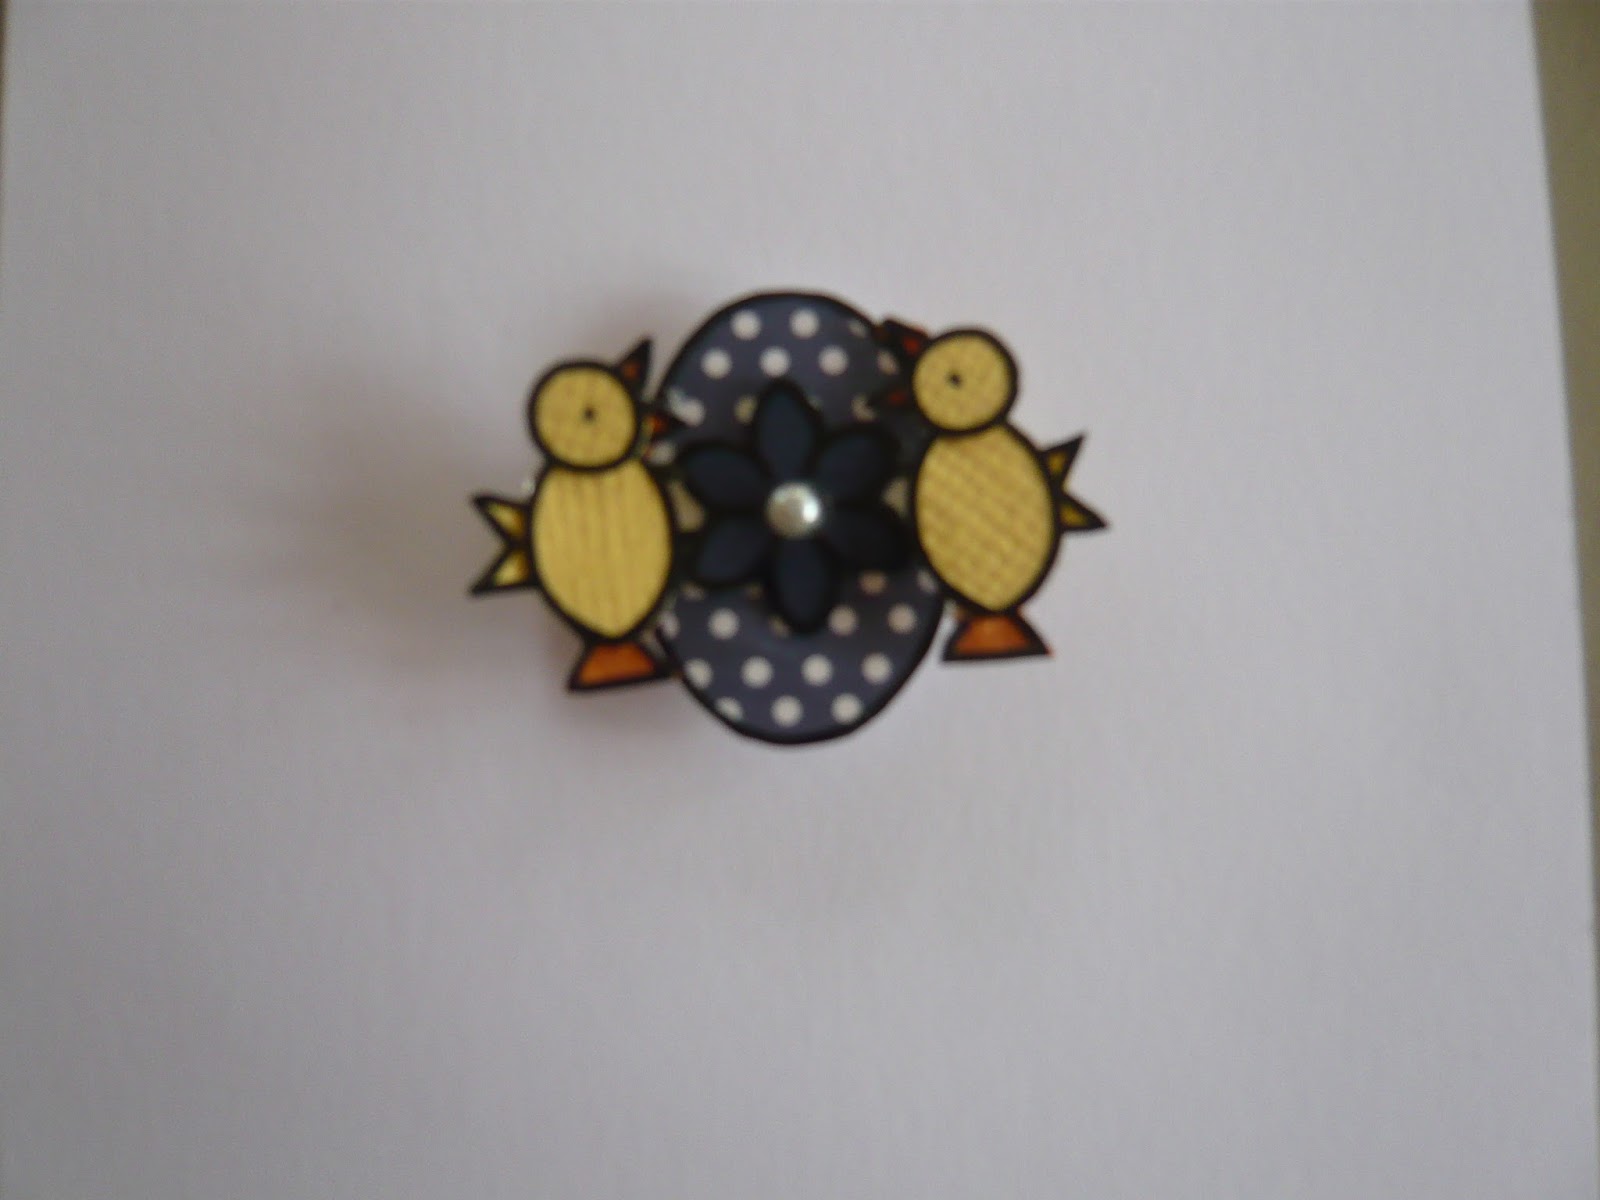
Easter chicks and Easter egg
Hi Everyone
Hope you have had a good week, can`t believe Easter is nearly here already.
Hope you all have an enjoyable long weekend and I will blog again soon.
The shapes have been taken from the Fairies and Friends set
To make the baby chick:-
Glue the yellow fish shape to the orange fish shape leaving just the bottom of the orange
showing ( see picture)
Glue the circle onto the top of the yellow fish shape.
Glue the trimmed orange star shape onto the head for the beak.
Glue the trimmed yellow star shape onto to the back of body for feathers.(see picture)
Glue the flower to the centre of the oval (Easter Egg) and adhere to the card using 3d pads.
Make up two chicks and using 3d pads adhere a chick either side of the egg shape.
To make the medium chick:-
Glue the yellow circle onto the yellow oval, then glue the feather shape to the back of the oval to resemble feathers. (see picture) glue the heart shape onto the bottom of the oval sideways to resemble feet. Trim star shape and glue to the circle (beak). Lastly glue a black dot for the eye.
You could also use this chick with the Easter egg shapes, try cutting the egg in half and the chicken in half and glue the top of the chick inside the egg shape.
Have fun with these shapes you certainly don't need many to achieve a small card. I am always interested in what you make with the Helidot peel offs and I would always put them on my blog if you were happy for me to do so.
Have fun & Bee Happy
Helen
Tuesday, 15 March 2016
bee sticker mini book
Hi everyone
Hope you have had a lovely week, I had some friends over today and we had a really lovely day,
lots of chatting and we even made some cards.
Today our little book card is so easy to make as I have used the Bee sticker sheet and the Bee extra
sheet so no cutting of shapes just peel off and adhere to the cardstock easy as that,
Cut out for the front of your card,one piece of yellow card measuring......... 70x80mm
and another piece ... 60x70mm , then a piece of lemon card measuring 75x65mm.
then matt and layer these three pieces of card, repeat again for the back of the card.
adhere a large daisy to the back and front(see picture)
Cut a piece of lemon card 240x60mm score at 60,120,180mm and glue to the back of card (see picture).
For the inside cut out two pieces of yellow card 50x50mm
then two pieces of lemon card 45x45mm matt and layer them together and glue in place (see picture)
Adhere the bees and flowers from the sheet and add the text and black dots from the Bee extra
sheet.
For the sleeve cut lemon card 170x30mm and glue together making sure the finished sleeve is big enough to take the mini card book,adhere add a little bee to the front of sleeve.
If you want to 3D any images from the sheet always adhere them to a piece of thin card first and then cut out the shape.
Hope you enjoy making this, I will be back soon with some more ideas from the sticker sheet.
You will be surprised how many cards you can make once you get going.
See you soon.
Bee happy
Helen
x
Hope you have had a lovely week, I had some friends over today and we had a really lovely day,
lots of chatting and we even made some cards.
Today our little book card is so easy to make as I have used the Bee sticker sheet and the Bee extra
sheet so no cutting of shapes just peel off and adhere to the cardstock easy as that,
Cut out for the front of your card,one piece of yellow card measuring......... 70x80mm
and another piece ... 60x70mm , then a piece of lemon card measuring 75x65mm.
then matt and layer these three pieces of card, repeat again for the back of the card.
adhere a large daisy to the back and front(see picture)
Cut a piece of lemon card 240x60mm score at 60,120,180mm and glue to the back of card (see picture).
For the inside cut out two pieces of yellow card 50x50mm
then two pieces of lemon card 45x45mm matt and layer them together and glue in place (see picture)
Adhere the bees and flowers from the sheet and add the text and black dots from the Bee extra
sheet.
For the sleeve cut lemon card 170x30mm and glue together making sure the finished sleeve is big enough to take the mini card book,adhere add a little bee to the front of sleeve.
If you want to 3D any images from the sheet always adhere them to a piece of thin card first and then cut out the shape.
Hope you enjoy making this, I will be back soon with some more ideas from the sticker sheet.
You will be surprised how many cards you can make once you get going.
See you soon.
Bee happy
Helen
x
Tuesday, 8 March 2016
daisy in pot
Hi Everyone
Hope you have had a good week.Thank you for the E-mails I have received welcoming me
back.
Today I have made a cute topper (very easy) again using shapes from Fairies and Friends,
Petite Fleur and All about Babies. If you dont have all these sets, try and use what you have.
You could use a tiny flower for the pot instead of the heart shape and a different shape for the
leaf i.e.perhaps a small petal or a different heart shape. You will be surprised what you can use
when you really study the shapes.
Cut a piece of Willow spot paper 4.5cm x7.5cm. Then mat and layer onto dark green card 5cm x 8cm. This is the topper base.
Peel all the shapes onto coloured card and cut out.
Make the daisy flower using five white petals and a yellow circle for the middle.
Using the waste from the circle adhere each petal onto the sticky side of black waste(see instruction sheet).
To make up the flower pot trim the triangle from the pointed end as per picture adding a black sticky line along the edge.Glue this to the topper and adhere the yellow mini heart in place.
Glue the green stalk coming out of the pot and adhere the green heart(leaf) in place.Now glue
the finished daisy onto the stalk.
To make up the ladybug cut the red circle in half, add some small black peel off dots. Glue the
small black circle in place for the head. Finally glue the ladybug onto the side of pot adding the black waste from the antenae.
Some people find cutting out the very small circles difficult, in this case you could use a black
flat backed pearl instead..
Hope you all enjoy making this little topper.
Be back soon for some more samples.
Bee Happy
Helen
x
Hope you have had a good week.Thank you for the E-mails I have received welcoming me
back.
Today I have made a cute topper (very easy) again using shapes from Fairies and Friends,
Petite Fleur and All about Babies. If you dont have all these sets, try and use what you have.
You could use a tiny flower for the pot instead of the heart shape and a different shape for the
leaf i.e.perhaps a small petal or a different heart shape. You will be surprised what you can use
when you really study the shapes.
Cut a piece of Willow spot paper 4.5cm x7.5cm. Then mat and layer onto dark green card 5cm x 8cm. This is the topper base.
Peel all the shapes onto coloured card and cut out.
Make the daisy flower using five white petals and a yellow circle for the middle.
Using the waste from the circle adhere each petal onto the sticky side of black waste(see instruction sheet).
To make up the flower pot trim the triangle from the pointed end as per picture adding a black sticky line along the edge.Glue this to the topper and adhere the yellow mini heart in place.
Glue the green stalk coming out of the pot and adhere the green heart(leaf) in place.Now glue
the finished daisy onto the stalk.
To make up the ladybug cut the red circle in half, add some small black peel off dots. Glue the
small black circle in place for the head. Finally glue the ladybug onto the side of pot adding the black waste from the antenae.
Some people find cutting out the very small circles difficult, in this case you could use a black
flat backed pearl instead..
Hope you all enjoy making this little topper.
Be back soon for some more samples.
Bee Happy
Helen
x
Monday, 29 February 2016
little house in the forest
Hi Everyone
As promised my instructions (I hope you can understand them) for my little house in the forest.
Sometimes we have lots of bits left from the sets this is a way of using them up. I have used
Willow paper with spot and chalked around the edges with darker green chalk.
Most of the shapes are taken from Fairies and friends and The Bee set, I have only used one
shape from the All about Babies and if you dont have this set just use another small heart from
the Fairies and friends set for the smoke and perhaps a mini flower for the door, I will leave the
decision to you.
Cut a piece of Willow spot paper 65mm x 75mm matt this onto a piece of dark green card
measuring 70mm x 80mm. This makes the topper base.
Peel off the shapes onto the coloured card and cut out. Build the house first by glueing the red
roof cross over the honey pot shape. Glue the white daisy flower in the middle
of the two roof shapes where they join. Glue the chimney in place at the back of the roof. Glue the windows in place after using the black lines to make a criss cross design on each one.
Glue the door in place and trim the bottom.Add a dot from the sheet for the handle and add glue a small heart on the door (optional).
Make up the trees by trimming the tree trunk shapes as necessary and glue the flower shapes and
heart shapes on the top. Put the topper together using the pictures as your guide.Lastly glue
everything in place and add six flowers as illustrated in the picture, adding a dot in
each flower centre and the heart smoke from the chimney.
You can make up a card to your own design or just use the topper in the centre of a card blank.
Have a good week and I will be back soon with some more ideas.
Bee Happy
Helen
x
As promised my instructions (I hope you can understand them) for my little house in the forest.
Sometimes we have lots of bits left from the sets this is a way of using them up. I have used
Willow paper with spot and chalked around the edges with darker green chalk.
Most of the shapes are taken from Fairies and friends and The Bee set, I have only used one
shape from the All about Babies and if you dont have this set just use another small heart from
the Fairies and friends set for the smoke and perhaps a mini flower for the door, I will leave the
decision to you.
Cut a piece of Willow spot paper 65mm x 75mm matt this onto a piece of dark green card
measuring 70mm x 80mm. This makes the topper base.
Peel off the shapes onto the coloured card and cut out. Build the house first by glueing the red
roof cross over the honey pot shape. Glue the white daisy flower in the middle
of the two roof shapes where they join. Glue the chimney in place at the back of the roof. Glue the windows in place after using the black lines to make a criss cross design on each one.
Glue the door in place and trim the bottom.Add a dot from the sheet for the handle and add glue a small heart on the door (optional).
Make up the trees by trimming the tree trunk shapes as necessary and glue the flower shapes and
heart shapes on the top. Put the topper together using the pictures as your guide.Lastly glue
everything in place and add six flowers as illustrated in the picture, adding a dot in
each flower centre and the heart smoke from the chimney.
You can make up a card to your own design or just use the topper in the centre of a card blank.
Have a good week and I will be back soon with some more ideas.
Bee Happy
Helen
x
Sunday, 14 February 2016
Back to Life!!!
Apologies for not blogging for so long but life in the Helidot house has been a bit fraught for the last year due to illness.
Hopefully now we are back on top of it I will be posting some new ideas, watch this space.
Bee Happy
xx
Hopefully now we are back on top of it I will be posting some new ideas, watch this space.
Bee Happy
xx
Monday, 22 September 2014
All about bee's
I thought I'd post a picture of some of the sample boards that go to shows with me so people can see the finished creations.
This board is from the All about bee's peel off set
This board is using the Bee sticker set
Don't forget there is also an easy step by step guide showing you how to use Helidot peel offs. It's that easy even kids can create cute little cards and projects using Helidot peels offs and stickers.
Step by step guide
All these can be bought from the website Helidot.com just click the link and voila you're in the shop.
Bee happy
Helen x
Wednesday, 3 September 2014
Workshop at the Craft Barn
The Craft Barn had a workshop last week using the lovely Helidot Bugs and Friends stamps set. The lovely Carole Staples decorated this box and isn't it just one of the cutest things ever!
You can purchase this gorgeous stamp set from our shop www.helidot.com for just £19.99
Bee happy
You can purchase this gorgeous stamp set from our shop www.helidot.com for just £19.99
Bee happy
Subscribe to:
Posts (Atom)